How to Use a Telescope for Stargazing
You need to know how to use a telescope properly if you’re going to make the most of it. They can be pretty expensive, and when you add all the different pieces together – an equatorial mount, eyepieces lenses and the rest, you want to make sure you get your money’s worth.
And whilst your telescope itself is important, you also need to get to grips with the accessories that come with it. None more so than an equatorial mount, which can be extremely confusing to the beginner. But, you’ll definitely want one if you’re looking to take some pictures of the night sky – even the best beginner astrophotography telescopes need a knowledgeable amateur astronomer behind the lens.
So if you’ve just got your telescope or you’re looking for one to buy, then you’ll need to know how to use it. Some of this will depend on what type of telescope that you’re using, but for the most part, there are some general instructions you can learn to know how to use a telescope for stargazing. So, let’s look at a few different things you need to do to get some great views of the night sky.
When you’re just getting started with your telescope, it can be a little difficult to know what to do. Here’s a step by step guide on how to use your telescope for stargazing.
The first thing that you need to do to use your telescope is ensure that it’s set up properly. You should be able to set the mount and tripod up quite easily, and then all you need to do is attach the optical tube to the top of the mount. This sounds easier than it may be, and if you need a more in depth explanation, check out my guide on how to set up a telescope.
This part will depend on the type of telescope that you’re using. If you’re using a refractor, then you won’t need to worry about collimating your telescope. However if you’re using a reflector, then you’ll need to make sure that your telescope is aligned properly.
Something that many beginners forget when they’re just getting into astronomy is that the weather is the biggest factor in whether you’re going to have a successful night or not. Not only the weather, but you need to check the amount of light pollution in the sky too. If you’re in the city, it’s probably worth venturing outside of the city to get the best views possible. You can check the light pollution in your area at Dark Site Finder.
You don’t always need to find the perfect place for stargazing, as long as you’re aware of what may be affecting your view. Turning off your porch lights can may a difference to your view. Plus, you can still enjoy stargazing even if there are clouds in the sky, but just be aware of where they are.
The finder is one of the most important tools for any astronomer – you use it for pick out where about in the sky you’re going to look at in closer detail. You’ll need to align your finder if you haven’t already – you can do this by picking out an object in the sky with your telescope (many people use the moon). Then, use your finderscope to center itself on the same object, and screw it in so they are aligned together.
It’s good practice to start with your lower magnification eyepieces first before progressing onto higher magnification eyepieces. You can see an object and see it’s surroundings, which might let you know if you’re vision is perhaps being obscured by something else. Although it can be tempting to jump in and see a planet at the highest magnification possible, this rarely goes well.
Just like a microscope, a telescope will also have a small knob that you can adjust up and down to try and get an object into focus. The focuser is one of the most important parts of a telescope, and it enables us to see an object crisply and clearly. Take things slow when you’re adjusting the focuser, as going too quickly can obscure your view.
When you’ve got a good view of a star or planet, then now might be the time to adjust your magnification to get an even closer view. You can do this by either using a different eyepiece, or probably the best way to double or treble your magnification is to use a good Barlow lens. This can give you 2, 3 or even 5x the magnification very quickly. Once you get used to using a Barlow lens, you’ll wonder how you lived without one.
These are just some simple steps to follow if you’re trying to use a telescope for the first time. Hopefully, it’s been helpful!
Learning to use a reflector telescope has a steep learning curve, as you’ll need to align and collimate your telescope before you have any success. Even using a refractor telescope can take some getting used to, so here are some of my tips for making the most out of your telescope.
- Use it in daylight first – This is an underrated tip, but trying to fiddle around with things in the night can be difficult if you don’t really know what you’re doing. Get to grips with your scope in the daytime first.
- Start low powered – It can be super tempting to put a 3x Barlow and a magnifying eyepiece in your telescope, but it’s not a good idea if you’re new to telescope. So, don’t get ahead of yourself when you’re just starting out.
- Get out of the city – The modern city is essentially the enemy of astronomy. Check out a light pollution map to see how light polluted your area is. It might be time for a trip out to the sticks.
- Do your research – Whilst many astronomers like to be old school and use a telescope alone, there are tons of apps and websites out there that can help use get started with astronomy and finding stars. Don’t be afraid to use them!
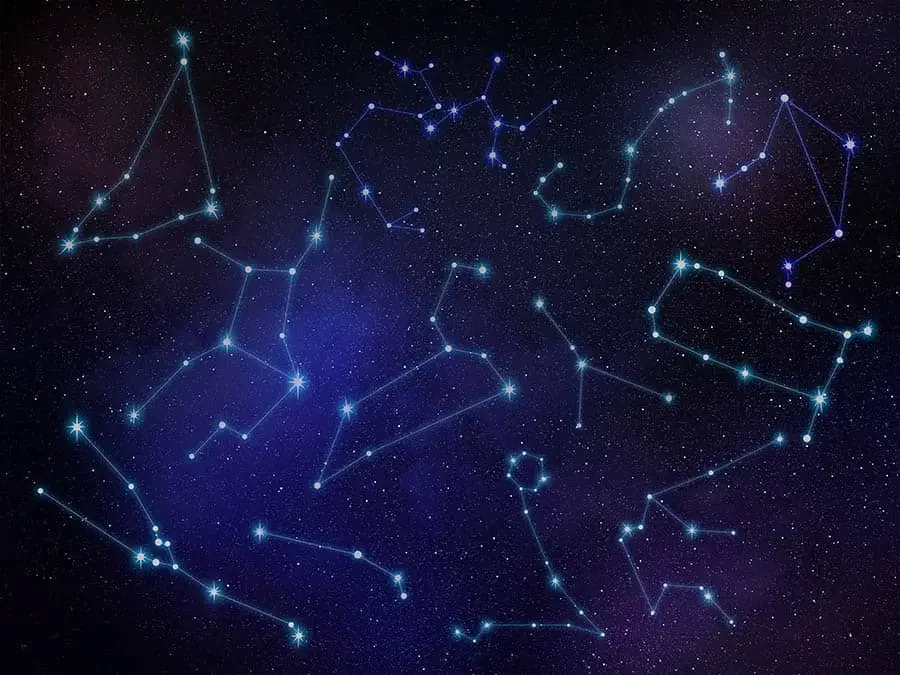
- Take your time – The most common thing I see with new astronomers is impatience. They’re desperate to see a certain planet, or a certain star or constellation. However, the best thing to do with astronomy is take advantage of that night – what’s easily on display? Finding stars that are bright that specific night is much easier than spending hours looking for one constellation.
This is just a quick guide on how to use a telescope for stargazing. Getting into astronomy is a fantastic hobby to have, and although the equipment can be quite expensive, once you’ve bought everything then you can end up having a whole lot of fun. If you’re trying to keep things sensible, then check out my best telescopes under $500.
Well, that’s pretty much everything. As long as you’ve set up your telescope mount properly, you’ve found the right dark sky location and you’ve aligned your telescope, you should be good to go. So, once you’ve got your stargazing telescope then go ahead and get started!